Usage
Move the dataset files that you want to use to the data directory (e.g. in a subdirectory deepbeat).
Write a config file for your model (use the templates as a basis).
Run the config file for training and testing:
python app/train.py --config app/configs/CONFIG_FILE.yml
Using the Training Graphical User Interface
The repository ships a small Tk-based Graphical User Interface (GUI) (app/gui.py) that wraps the
command above. It lets you pick (or create) a Python environment, choose
a YAML config from app/configs/ (or anywhere on disk), optionally edit
the config in place, and stream train.py’s output back to a panel.
Launching the GUI
Pick whichever method matches your platform — all three end up running
python app/gui.py:
Platform |
How to launch |
|---|---|
Any |
|
Linux |
Double-click |
macOS |
Double-click |
Windows |
Double-click |
The GUI uses tkinter from the standard library, but tkinter links
against the system Tcl/Tk shared libraries. If the GUI fails to start
with an ImportError: No module named '_tkinter', e.g.:
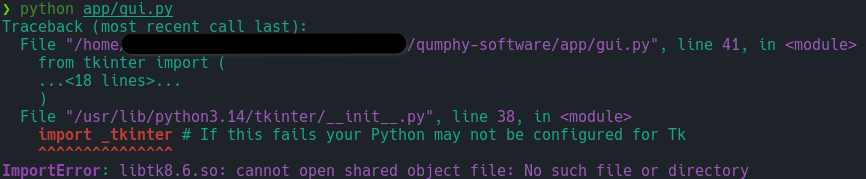
then, install the Tk runtime for your OS (e.g. sudo apt install python3-tk on Debian/Ubuntu,
brew install python-tk on macOS, or reinstall Python with the
“tcl/tk and IDLE” component on Windows).
Window Layout
The window is divided into four sections, top to bottom:
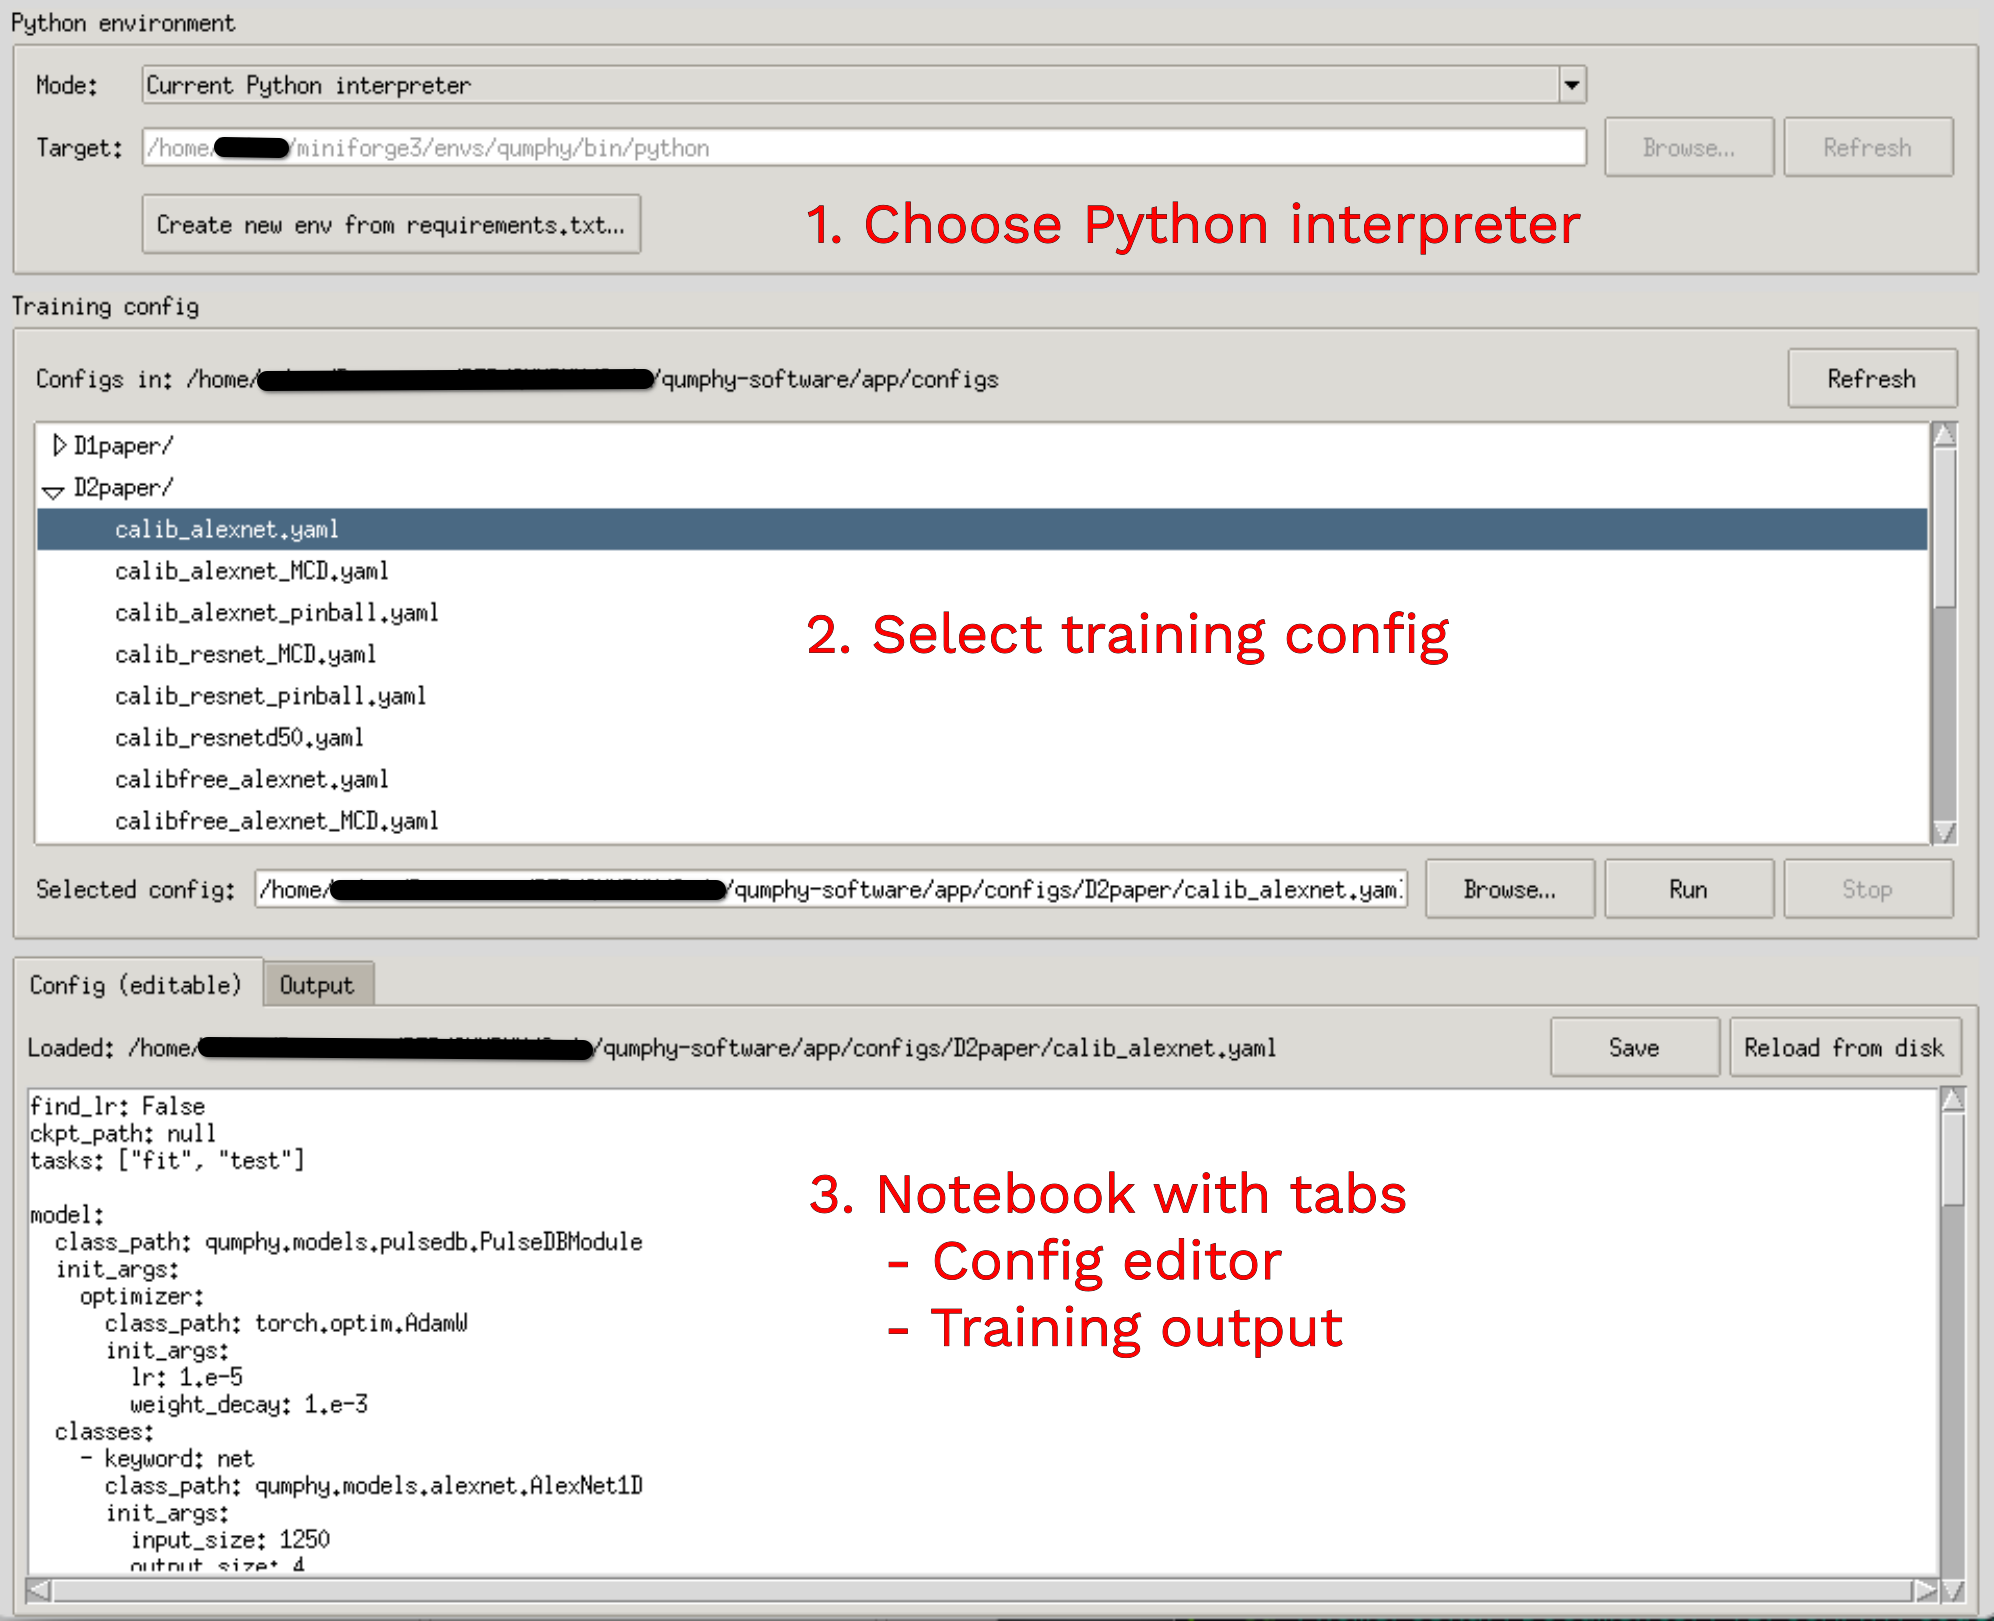
Python environment — what interpreter
train.pywill be launched with.Training config — the file tree of configs and the selection row.
Notebook — two tabs:
Config (editable) — YAML editor for the currently selected config.
Output — live stdout/stderr of the running subprocess.
1. Choose a Python Environment
The Mode dropdown selects how the interpreter is resolved:
Current Python interpreter — uses
sys.executable, i.e. whatever Python is running the GUI itself. Useful when you started the GUI from an already-activated venv or conda env.Existing conda environment — click Refresh to list environments reported by
conda env list --json, then pick one.conda(ormamba) must be onPATH. The GUI invokes commands asconda run --no-capture-output -n <name> python ....Existing venv / virtualenv directory — click Browse… and pick the venv directory (the one containing
bin/orScripts/).
Creating a new environment from requirements.txt
Click Create new env from requirements.txt…. The dialog asks for:
Type —
venv(a Python virtualenv directory) orconda(a named conda env).Name / path — directory path for venv, env name for conda.
Python version — only used for
conda create -n <name> python=<ver> -y.
The GUI then runs, in order:
venv:
python -m venv <path>→pip install -U pip→pip install -r requirements.txtconda:
conda create -n <name> python=<ver> -y→conda run -n <name> pip install -r requirements.txt
Each step’s output streams into the Output tab. On success the new environment is automatically selected in the mode dropdown.
2. Pick a Config
The tree on the left shows everything under app/configs/ that ends in
.yaml or .yml. Click a file to select it; its path appears in the
Selected config field and its content is loaded into the editor tab.
Browse… opens a file picker for configs outside
app/configs/.Refresh rescans the directory (useful after creating a new config outside the GUI).
Double-clicking a config in the tree launches training immediately.
3. Edit the Config (optional)
The Config (editable) tab is a YAML editor with undo/redo. The label above it shows the load status:
Loaded: <path>— the editor matches what’s on disk.Modified: <path>— there are unsaved changes.Saved: <path>— you’ve just persisted changes back to the file.
Buttons:
Save writes the editor content back to the original file. If PyYAML is installed (it is part of
requirements.txt), the content is parsed first and you’ll be prompted if it has syntax errors.Reload from disk discards in-memory edits (with confirmation) and re-reads the file.
You don’t have to save to run with edits — see below.
4. Run
Click Run (or double-click a config in the tree). The GUI invokes:
<env-python> app/train.py --config <CONFIG_FILE>
with app/ as the working directory. The exact command is echoed into
the Output tab before the run starts.
Behaviour with edited configs:
If the editor matches disk → the selected path is passed through unchanged.
If the editor has unsaved changes → the current text is written to a fresh temp file (preserving the original basename and
.yaml/.ymlsuffix) and that temp path is passed totrain.py. Your original file is left untouched. The Output tab logs:[using edited config from temp file: …].
This means you can iterate on a config without overwriting the on-disk version. Hit Save when you want to keep the edits.
While a run is in progress:
Run, Mode and Create new env… are disabled.
Stop terminates the subprocess (
SIGTERMon POSIX,TerminateProcesson Windows).Closing the window asks for confirmation before killing the run.
Troubleshooting
“Could not find any conda environments” —
condais not onPATH, or you have only the base env. Make sureconda init <shell>was run for the shell you launched the GUI from.Invalid venv — the path you selected does not contain
bin/python(POSIX) orScripts\python.exe(Windows).Run starts but immediately exits — check the Output tab; the most common cause is the chosen environment not having the project’s dependencies installed. Use Create new env from requirements.txt… to bootstrap one.
Config edits not applied — confirm the status above the editor reads
Modified:and notLoaded:; only dirty editors get written to the temp file.